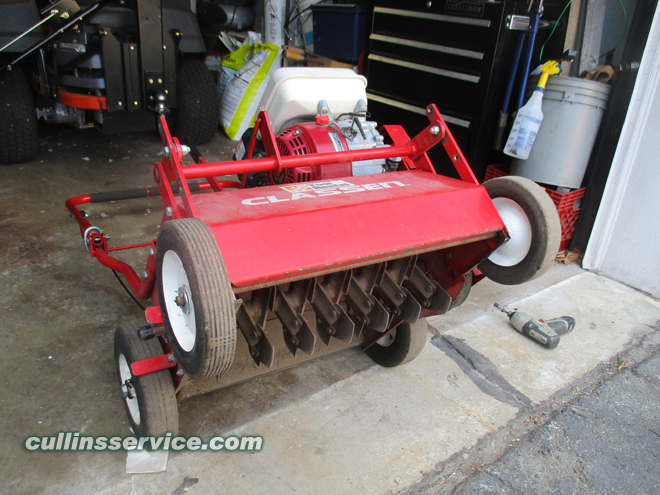
DIY How to Change Blades on Classen Overseeder. How to Do It Yourself
What You will need
- -Classen Overseeder
- -New Blades Multi-purpose blades, Vertical slicer blades, Flail blades or Spring tines
- -1/2 - 7/16 sockets
- -Ratchet
- -1/2 - 7/16 wrench

The blades we are changing fit the Classen TS-20 overseeder.
The classen has different blades that can turn your overseeder into various other machines. In this how to we will be changing the blades to Spring tines effectively turning it into a power thatcher or power rake.
This is a pretty easy process and can be done in less than 20 mins.
I was impressed w/ the results after using the spring tines.
Safety First
Before you start changing your blades you should be safe. Make sure your blades have stopped spinning and set the machine on level ground.

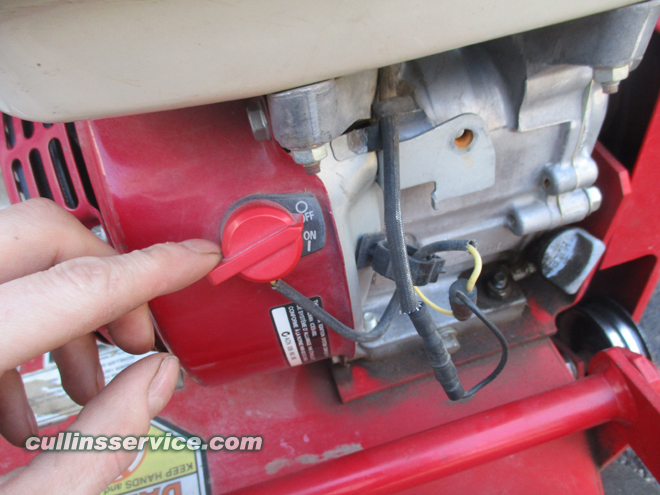
Turn off Ignition Switch
Turn the ignition switch to the off position.
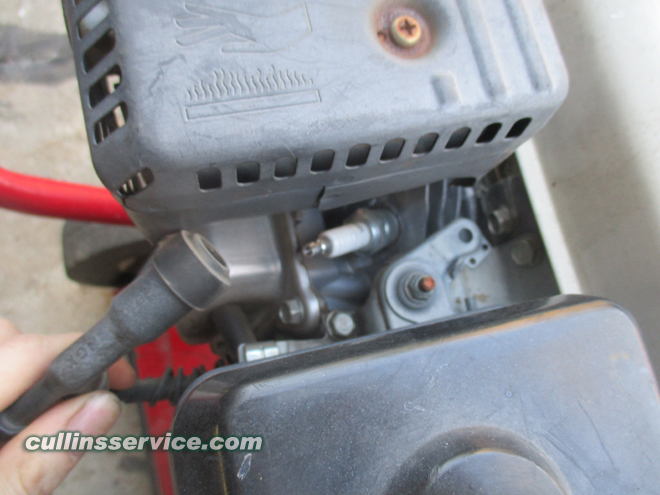
Remove Spark Plug Cap
Locate your spark plug and remove the boot
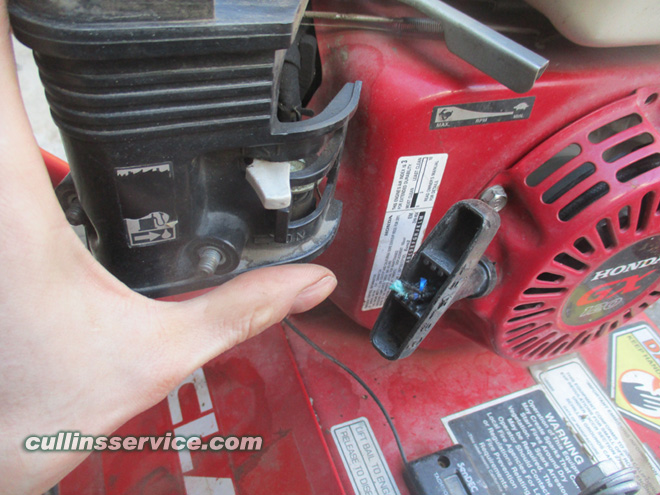
Close Fuel Valve
Locate the fuel vale right under the choke and push it to the left
Removing The Belt Shield
Now you have to remove the belt shield to gain access to the belt and pulley.
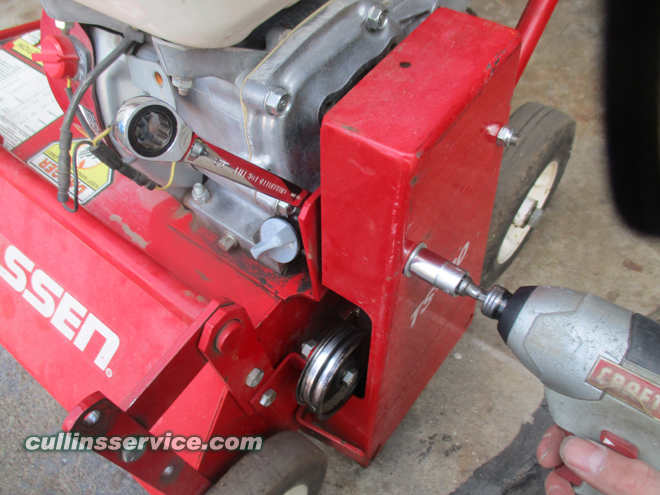
Unbolt the Belt shield
Take the 1/2 open end wrench and hold the nut in place.
Now take the 1/2 socket and unbolt the top 2 bolts.
The bottom 2 bolts will require an extension w/ the socket to get into the hole and unbolt.
Remove the Belt Shield
Now that the belt shield has been released just set it aside and place the nuts and bolts in a safe place.
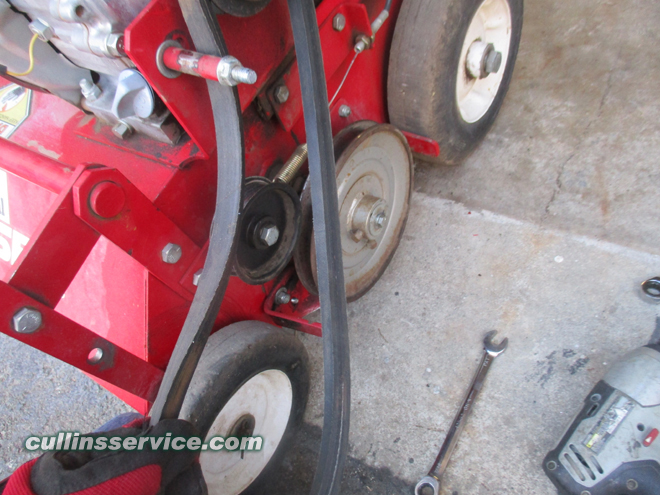
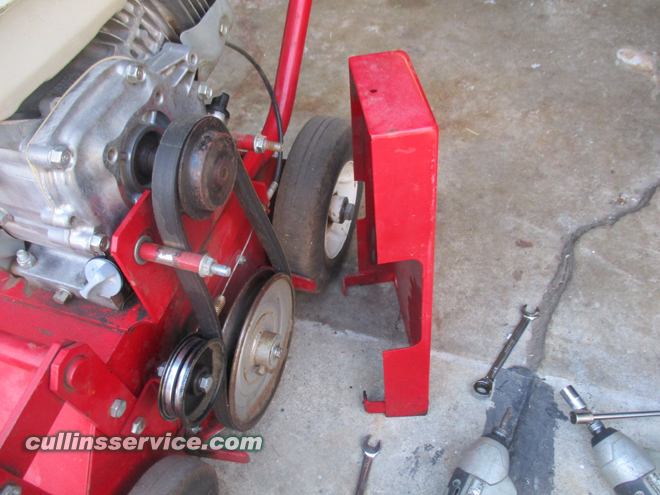
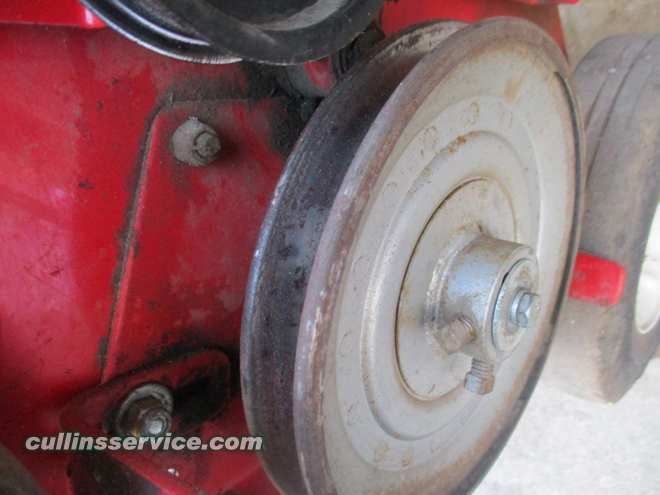
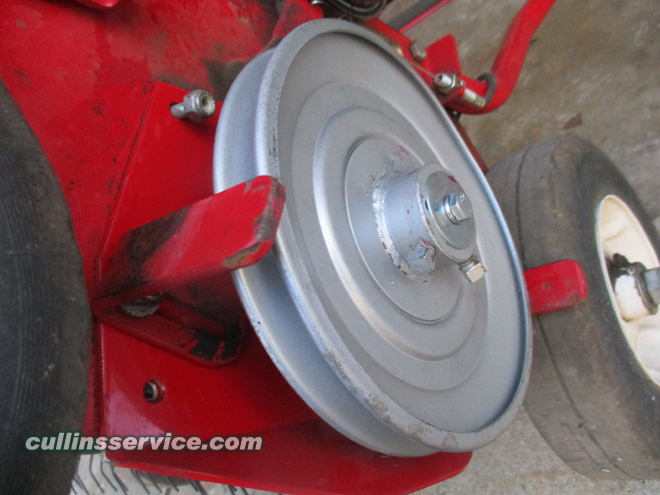
Remove the Belt
Now remove the belt from around the pulley

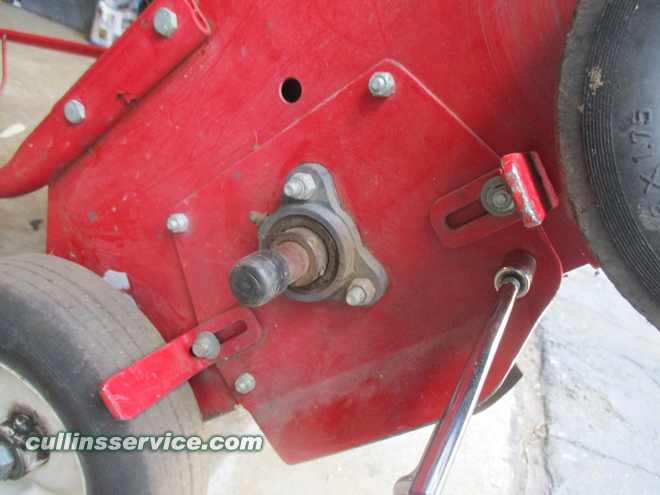
Tilt up the classen
Tilt up the classen so you can access the underneath of the machine.
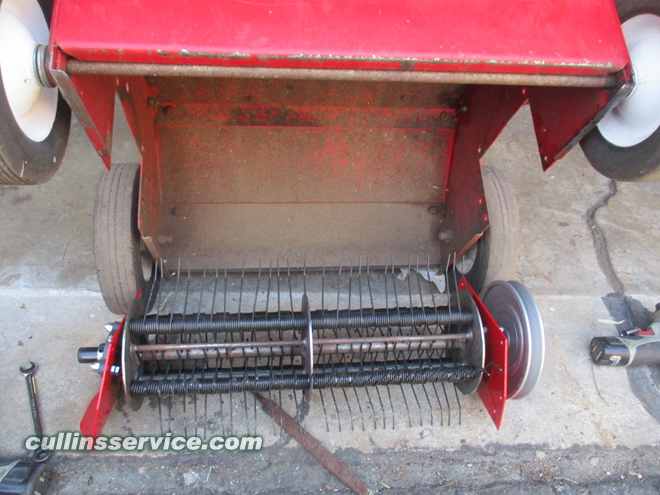
Remove Blades from Classen
Now we are going to unbolt and release the blade assembly currently on the classen
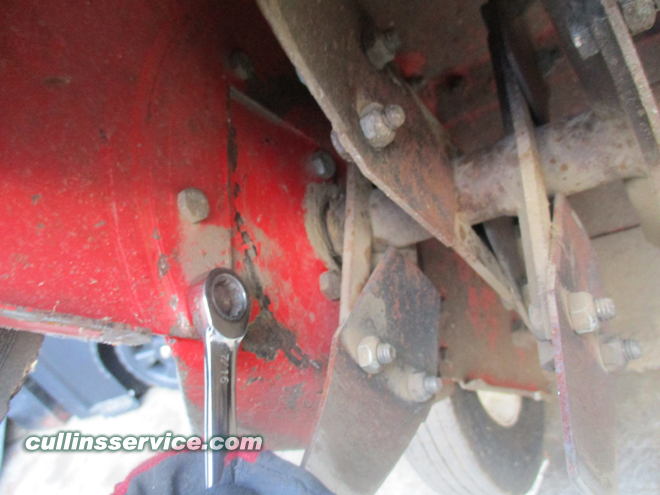
Remove 6 Bolts on Left
Take the opened ended 7/16 wrench and hold the nut on the inside of the classen.
Take the 7/16 socket and unbolt the 6 bolts.
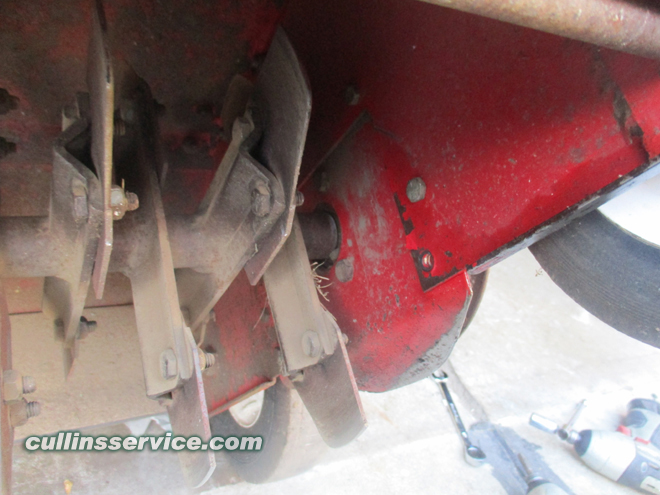
Remove 6 Bolts on Right
Take the opened ended 7/16 wrench and hold the nut on the inside of the classen.
Take the 7/16 socket and unbolt the 6 bolts.
Release Blades
With the bolts out you can now release the blade assembly.
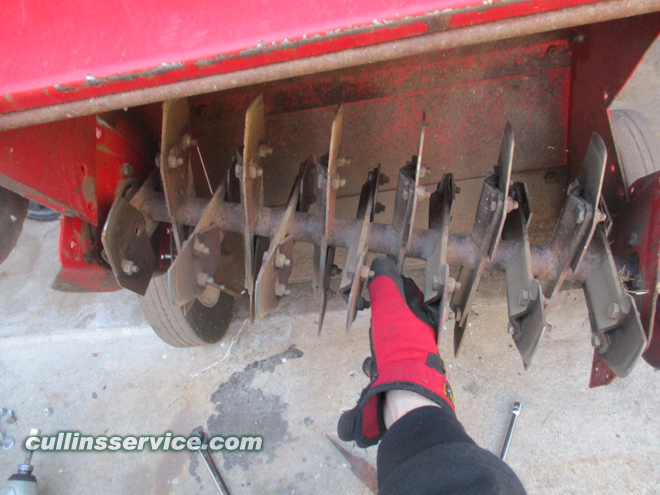
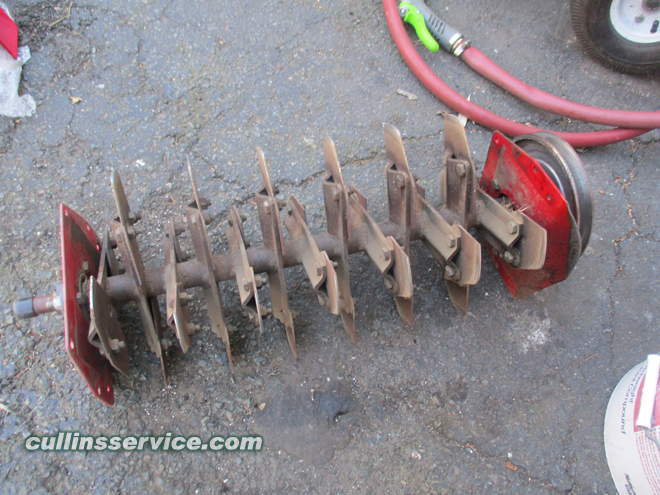
Drop out Blades
Now you can drop out the blade assembly.
Put it in a place where you can find it later.
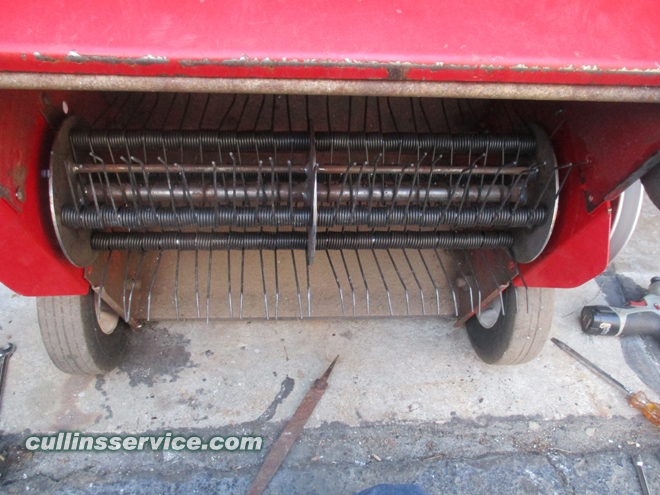
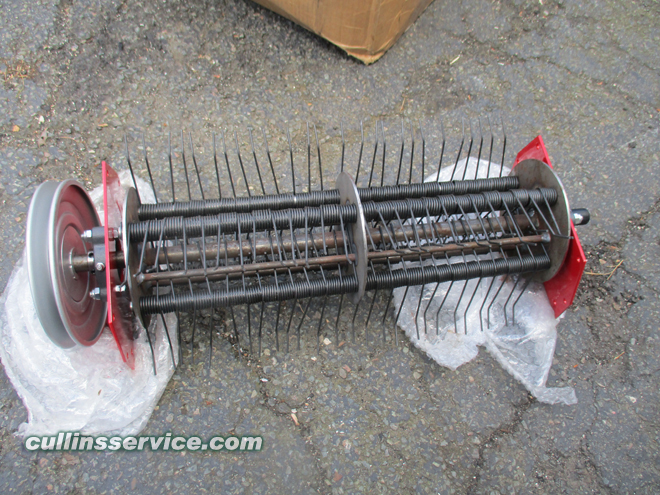
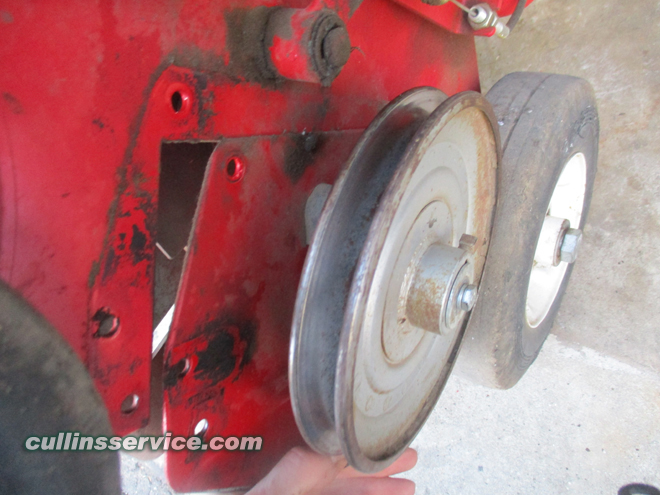
Set new blades in place
Set the blade assembly under the classen.
Make sure the the pulley is on the right side.
Place a few bolts into the holes to hold the blades in place.
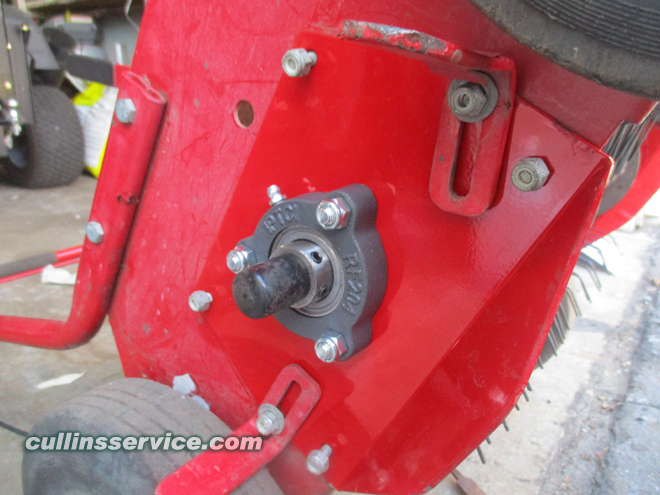
Bolt Blades in Place
Bolt the 6 bolts on the right and the left, 12 in all.
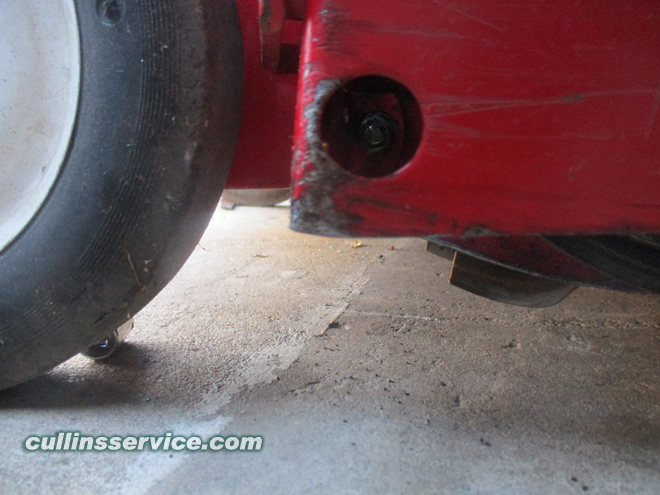
Make sure you reinstall the tire guards on either side.
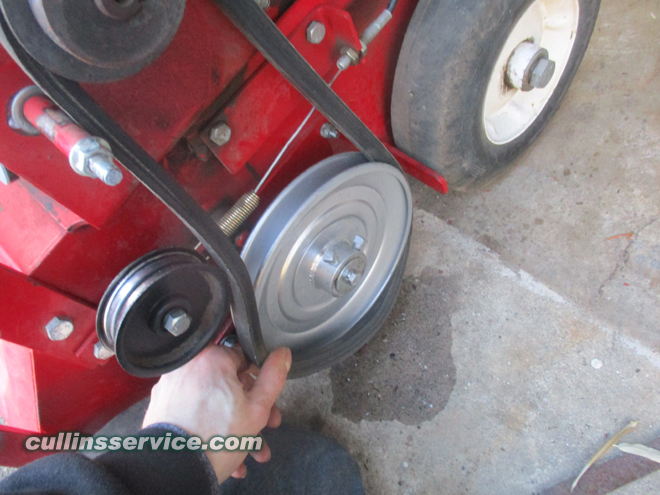
Reinstall Belt
Route the belt over the top pulley then roll it over the blade pulley.
Reinstall Belt Shield
Place the belt shield in place and bolt the top and bottom bolts in place.
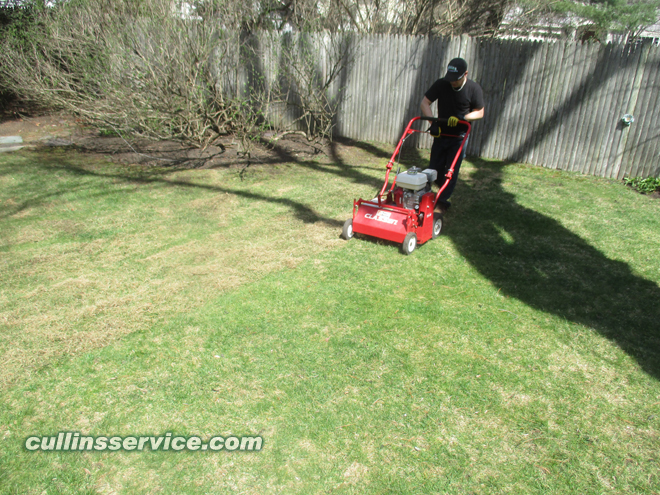
Thatch
Now Start Thatching


Finished
Now you are finished Changing your blade assembly.
You can change it from spring tines to flail blades to whatever you need the classen to be.
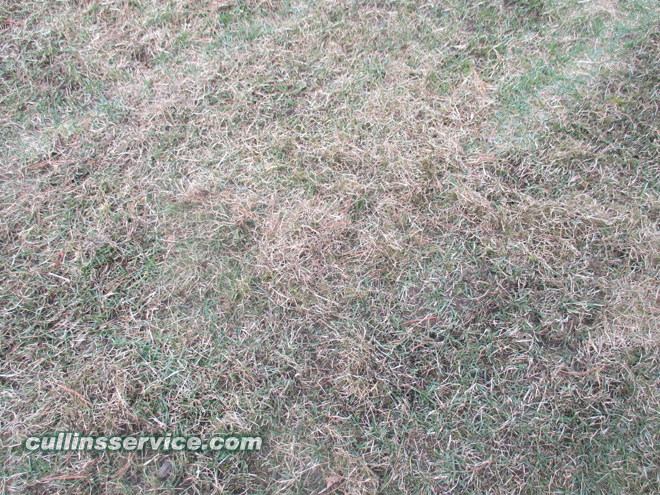
The thatch blades in my opinion worked really well. The only problems are picking up the thatch, but you can just follow behind w/ a mower and pick it right up. They also have a bag for the classen you can install to pick up the thatch. That and hills, but hills are gonna be there so You just deal w/ it.
Watch Video
If you prefer to watch the video on this How to change blades on a overseeder by Cullins Service check out our video. Subscribe to our channel for more DIY How to videos.